
Home wall painting and ceiling design your home does more than just make it look nice; it also has some amazing hidden benefits. Every weekend, one of the unspoken topics that suffocate the room is wall painting. When are we going to paint? It’s a project that is usually an afterthought that we put off until a long weekend when we feel we can finally get around to it.
However, wall painting is more than just a weekend project. It is far more valuable than that. Whether you’re painting your home’s exterior or interior walls, a fresh coat of paint has some unexpected benefits.
While painting the trims, ceiling, and walls of the room inside the house, begin with the trims, then the ceiling, and finally the walls. It is necessary to paint in this order because it is easier to tape trim than it is to tape down walls. Wall paintings are used to enhance your home’s décor and to bring beauty and grace to your walls. Once you’ve handpicked a piece of art you like, it can help you establish a mood or theme for the entire room or space.
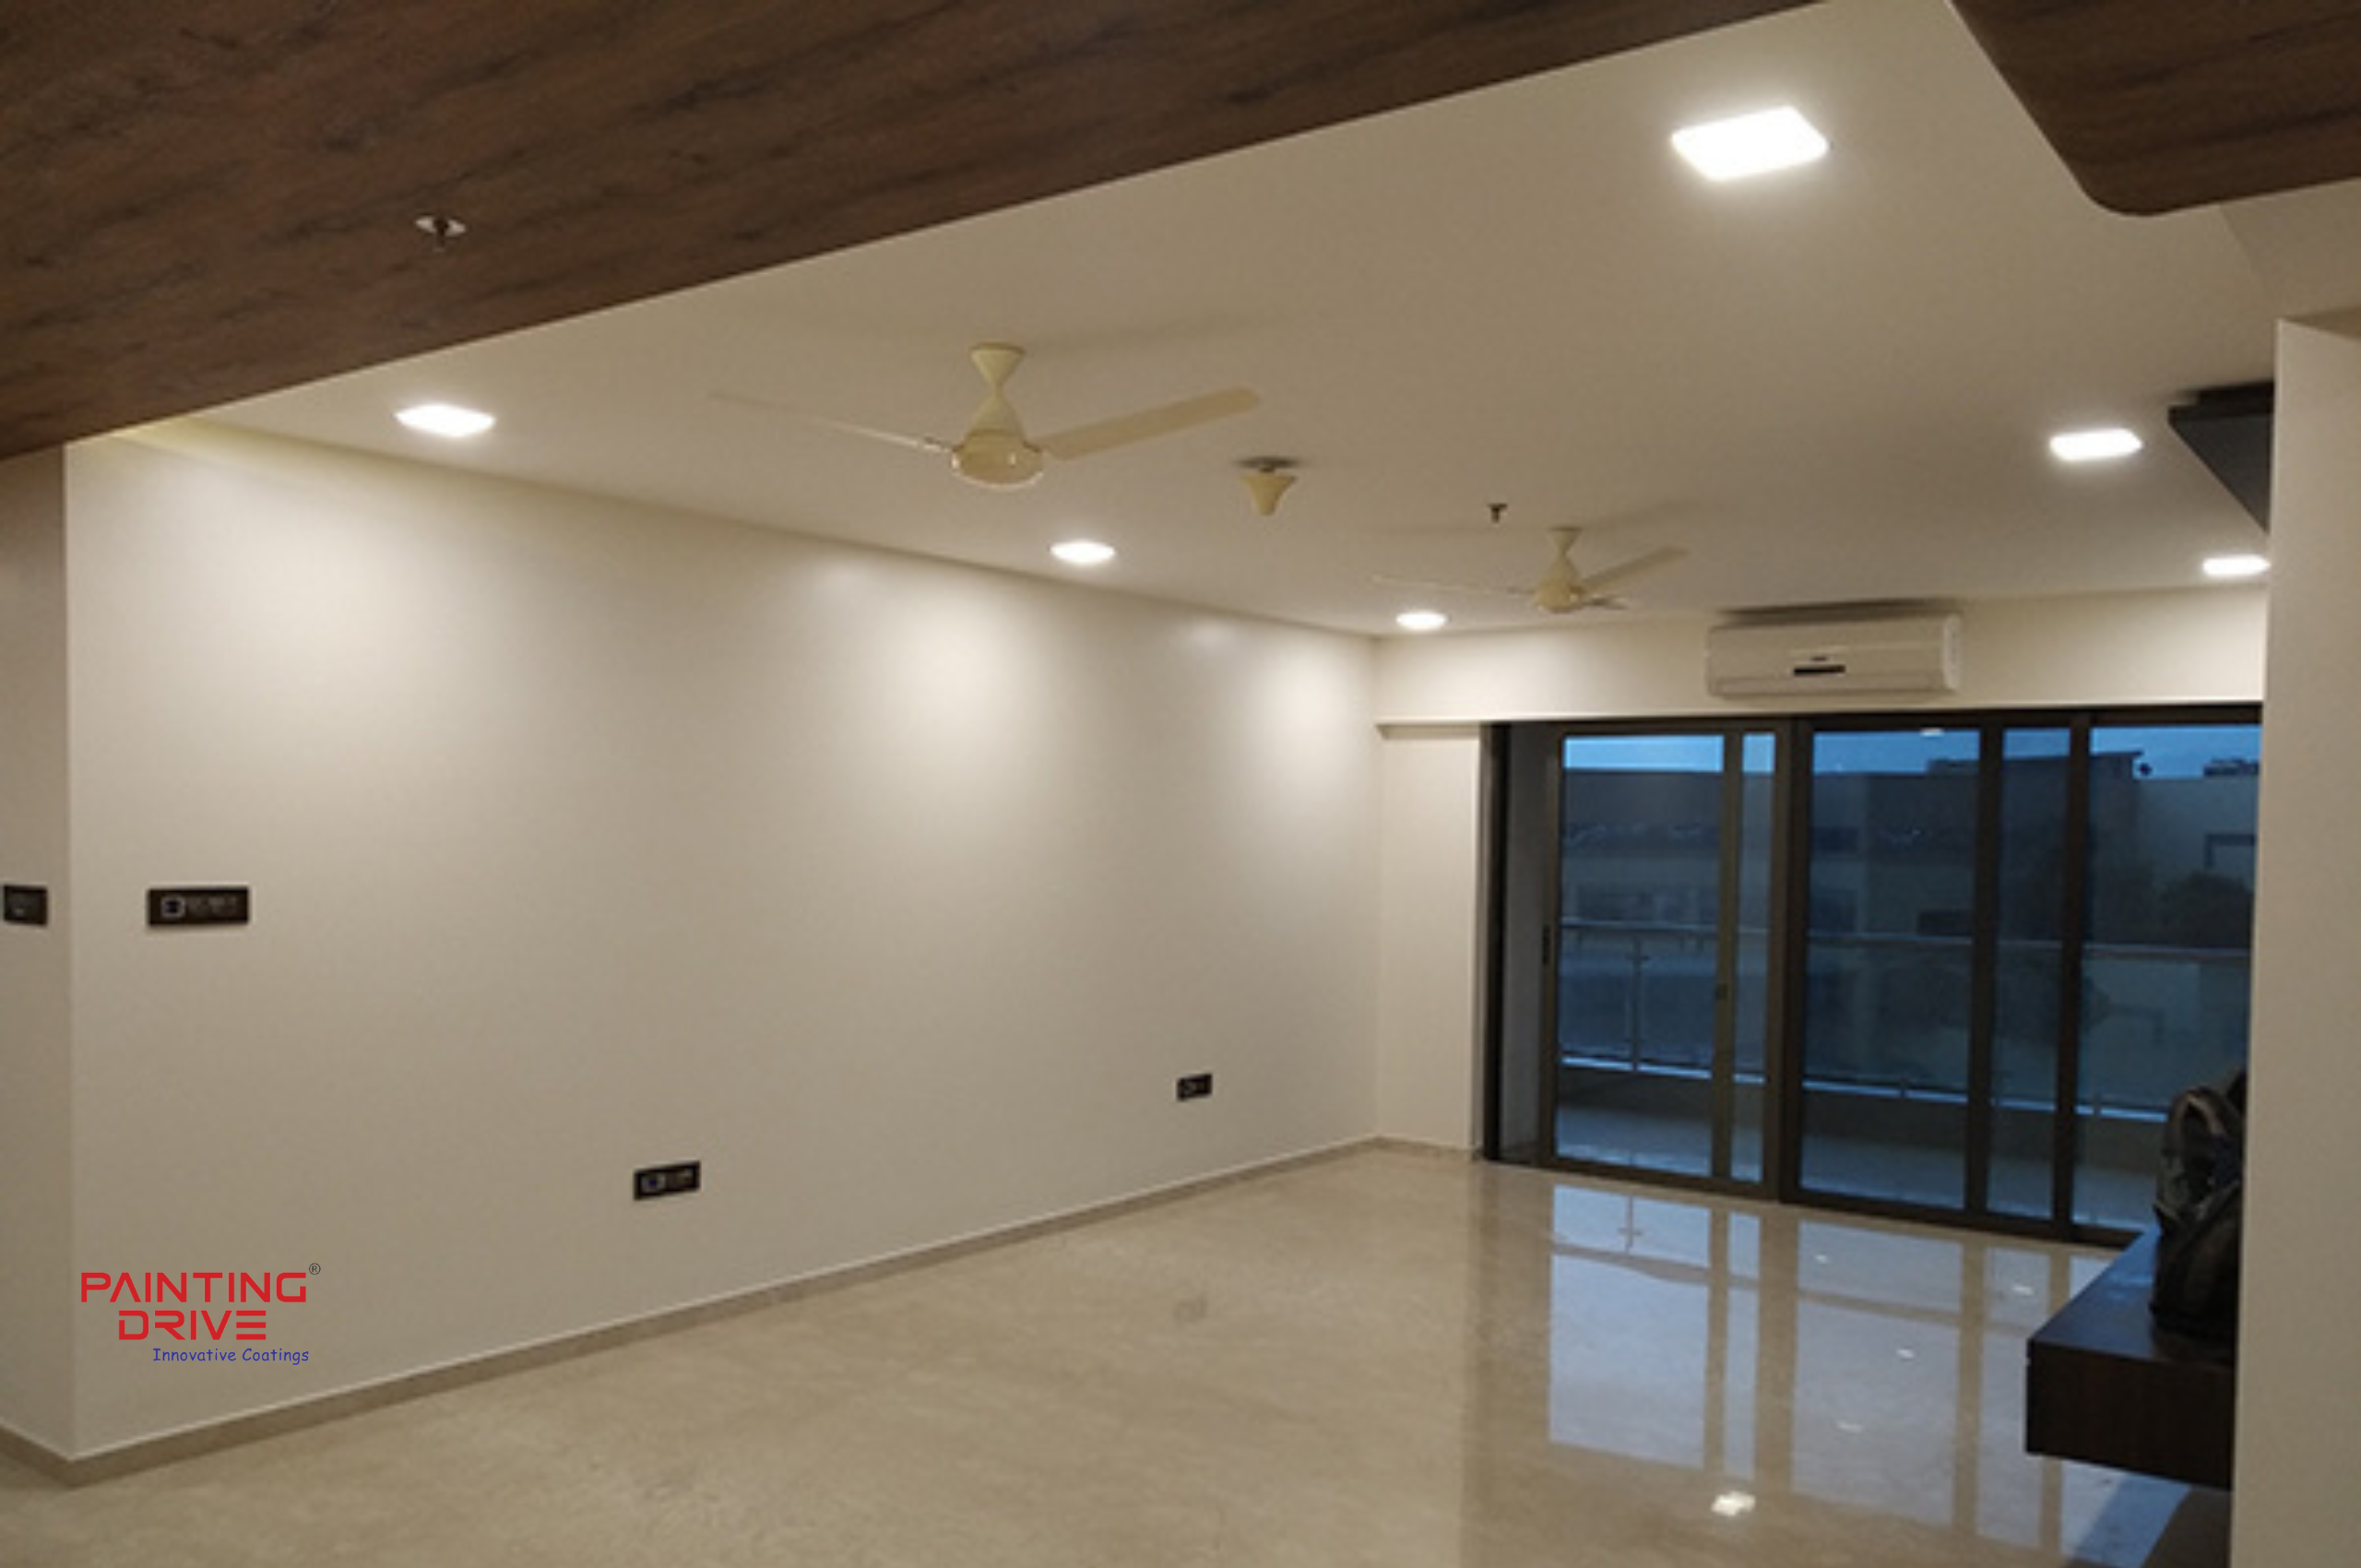
 A large bright spacious living room with sofas
Materials Required for Painting
- Spackling Compound
- Paint Bucket
- Roller Pan
- Paint conditioner
- Primer Sandpaper Spackling Compound
- Putty Pants Roller Tool Pants Brush
- Painter’s tape on a step stool
- 1-1/2-inch or 2-inch paintbrush (for painting trim)
- Putty knife
Learn more: Wall Stencil Designs Ideas for Home Decor
Painting Surface Preparation
Remove all furniture from the room if possible. Protect the room’s windows, doors, and cupboards with plastic sheets to keep dust and paint splatters at bay.
Removable ceiling fixtures remove and disassemble, or cover with painter’s tape.
Sandpaper the surface of the ceiling and walls to remove excess dust mites and the layer of hollow plaster.
Then, using a sponge or soft cloth, remove any excess dust from the surface to paint.
After then, on the ceiling and walls, repair any cracks, holes, and so on.
Then, use a drop cloth or plastic sheet to cover the floor.
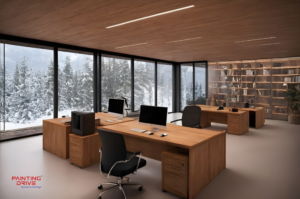
 Antibacterial lamination services are executed by Painting Drive.
Ceiling and Wall Primer
For textured ceiling surfaces, use High Build Primer.
After applying two coats of primer to the ceiling and walls, allow it to dry.
Then, using putty, remove the plaster flaws from the ceiling design and wall surfaces.
For ceiling designs and unique wall paintings, you can see our website

Trim Ceiling Design Painting Procedure
Begin by painting the ceiling design and walls with a decorative textured surface trim.
Depending on the textured surface, paint the trim with a 1-1/2-inch or 2-inch-wide brush as needed.
Allow the paint to dry for at least a full day. Then, using painter’s tape, cover the trim.
 Ceiling Design in Mumbai
Process of Painting a Ceiling design
- It is preferable to paint the ceiling design with a paint roller tool.
- To achieve an even painting, divide the ceiling into 3-4 square foot sections and paint the entire surface.
- A roller tool with a low nap should be used to achieve a smooth, even texture on the ceiling design.
- Use a roller tool with a 1/2 or 3/4 inch fluffy roller nap to create a designed texture ceiling.
- During the painting process, use a roller pan to load the paint into the roller and slowly roll it on the ceiling surface.
- Begin rolling the paint roller tool through the squares’ wet ends.
- Changing the direction of your rolling is important because a perfectly straight roll can leave overlap marks.
- As you paint, continue to blend the paint with the previous section, rotating the paint roller until the ceiling is finished.
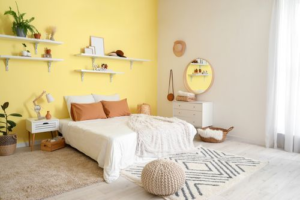
- Repeat the process until the entire ceiling has been painted. The bright combo of white yellow & orange

Wall Painting Process
- While the wall was being painted Roll the roller tool back and forth across the wall in a series of V- or W-shaped strokes, then from top to bottom, until the section is completely covered.
- Roll over the area you just painted in a smooth continuous stroke from top to bottom before reloading the roller and moving on to the next section.
- Repeat the painting process described above to avoid leaving paint marks on the surface. This method will allow you to evenly spread the paint on the wall’s surface.
- After moving the paint roller over the already painted area, the roller lifted lightly to avoid streaks of paint on the painting surface.
- Using this method, the entire surface of a wall is painted all at once.
- After finishing one coat of paint, allow it to dry completely for at least 4 hours.
- Then, using the above painting method, finish the job by applying the second coat of paint.
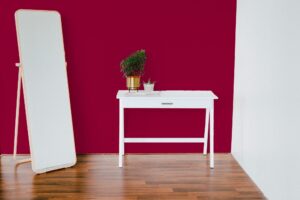
 Purple grey & lavender wall colour
Taking Off Trim Tape Ceiling design
- Once the paint has dried, the tape should not remove easily from the trim.
- Because the paint forms a film between the wall and the tape, simply pulling off the tape from the surface may result in dry pieces of paint peeling off the surface along with the tape.
- The best method for removing tape from trim is to first loosen the tape from the surface.
- You may need to wait about 24 hours after the painting process finish for the paint to completely dry.
- Then, using a sharp knife or box cutter knife, cut away the film that has formed between the paint and the tape.
 Wall colour combination in grey orange
Conclusion
We give all types of Home Improvement and Home Decor Services given below. Online Professional Home Improvement and Home Decor Service Provider like Interior Home Painting, House Exterior Painting, Rental Painting, House Waterproofing Solutions, House Deep Cleaning, Building Sanitization, Wall Texture Painting, Wall Exterior Texture, Wall Stencil Design, Wall Paint Design, Provides all service like Kids Room Decor, House Wallpaper Design, House False Ceiling Work, POP Work, House Colouring Solutions, Colour Consultancy, and Wall Free Hand Art Design Work. Painting is necessary for our home because we feel enlightened when we come back home after a long day or when we are stressed or take an opinion from PAINTING DRIVE
Painting Drive offers you:
Once you’ve decided to have a wall painting design or ceiling design, call us since we have the most competitive painting quote on the market. Our crew not only paints but also takes the time to learn about the customer’s needs and provide a custom estimate that fits perfectly within everyone’s budget.
We hope you found this knowledge useful and that you enjoyed reading it. Keep an eye on the new and exciting stuff! I wish you and your families a wonderful day & Healthy life.
Read More for Painting & Polishing Ideas.
Visit us on Social Media for Polishing ideas.
Excellent guide! The detailed breakdown of wall and ceiling painting processes is incredibly helpful and informative. Thanks for sharing such valuable insights