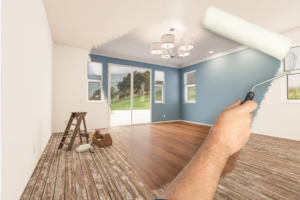
Choosing the right wall putty is crucial for achieving a smooth and durable finish on your walls. Wall putty serves as a preparatory layer before painting, filling imperfections, and ensuring an even surface. However, different surfaces require different types of wall putty to ensure optimal adhesion and finish. This guide will help you understand the various types of wall putty and how to select the right one for different surfaces.
Understanding Wall Putty
Wall putty is a white cement-based fine powder that is mixed with water to form a smooth paste. It is applied to walls and ceilings before painting to fill cracks, holes, and surface imperfections. The primary functions of wall putty are:
- Surface Preparation: It provides a smooth and even surface for painting.
- Adhesion: It improves the adhesion of paint to the wall.
- Durability: It enhances the durability of the paint by providing a strong base.
Types of Wall Putty
There are mainly two types of wall putty available in the market:
- Acrylic Wall Putty: Made from an acrylic or water-based solution, it is ready to use and does not require mixing with water. It is ideal for interior walls and provides a smooth finish.
- Cement-Based Wall Putty: Made from white cement, it requires mixing with water to form a paste. It is suitable for both interior and exterior walls and provides excellent adhesion and durability.
Read more: Wall Putty Vs. Plaster: Which Is Better For Your Project?
Choosing the Right Wall Putty for Different Surfaces
Different surfaces have different requirements, and choosing the right wall putty is essential for achieving the best results. Here’s a detailed guide on selecting the right wall putty for various surfaces:
1. Newly Plastered Walls
- Cement-Based Wall Putty: For newly plastered walls, cement-based wall putty is the best choice. It provides excellent adhesion to the plaster and creates a strong, smooth surface for painting. It also offers good resistance to moisture and cracks, ensuring a durable finish.
2. Old and Damaged Walls
- Acrylic Wall Putty: For old and damaged walls, acrylic wall putty is more suitable. It is easy to apply and does not require extensive surface preparation. It fills cracks and holes effectively, providing a smooth surface for painting. Its quick-drying property allows for faster completion of the painting process.
3. Exterior Walls
- Cement-Based Wall Putty: Exterior walls are exposed to harsh weather conditions, so cement-based wall putty is ideal for these surfaces. It provides strong adhesion and resistance to water and UV rays, ensuring a long-lasting and durable finish.
4. Interior Walls
- Acrylic Wall Putty: For interior walls, acrylic wall putty is preferred due to its smooth finish and ease of application. It provides a superior base for paint, enhancing the final appearance of the walls. It is also less prone to shrinkage and cracking compared to cement-based putty.
Learn more: How Wall Polishing Enhances The Look Of Your Interior Spaces
5. Ceilings
- Cement-Based Wall Putty: Ceilings require a putty that can provide a smooth and even surface with strong adhesion. Cement-based wall putty is ideal for this purpose, ensuring a durable and flawless finish.
Factors to Consider When Choosing Wall Putty
When selecting the right wall putty for your surfaces, consider the following factors:
- Surface Type: Assess whether the surface is new, old, interior, or exterior, and choose the putty accordingly.
- Durability: For long-lasting results, opt for a putty that offers good resistance to moisture, cracks, and weather conditions.
- Application Ease: Choose a putty that is easy to apply and dries quickly, especially for interior surfaces.
- Finish Quality: For a superior paint finish, select a putty that provides a smooth and even surface.
Application Tips for Wall Putty
To achieve the best results, follow these application tips:
- Surface Preparation: Clean the surface thoroughly to remove dust, dirt, and loose particles. Ensure the surface is dry before applying putty.
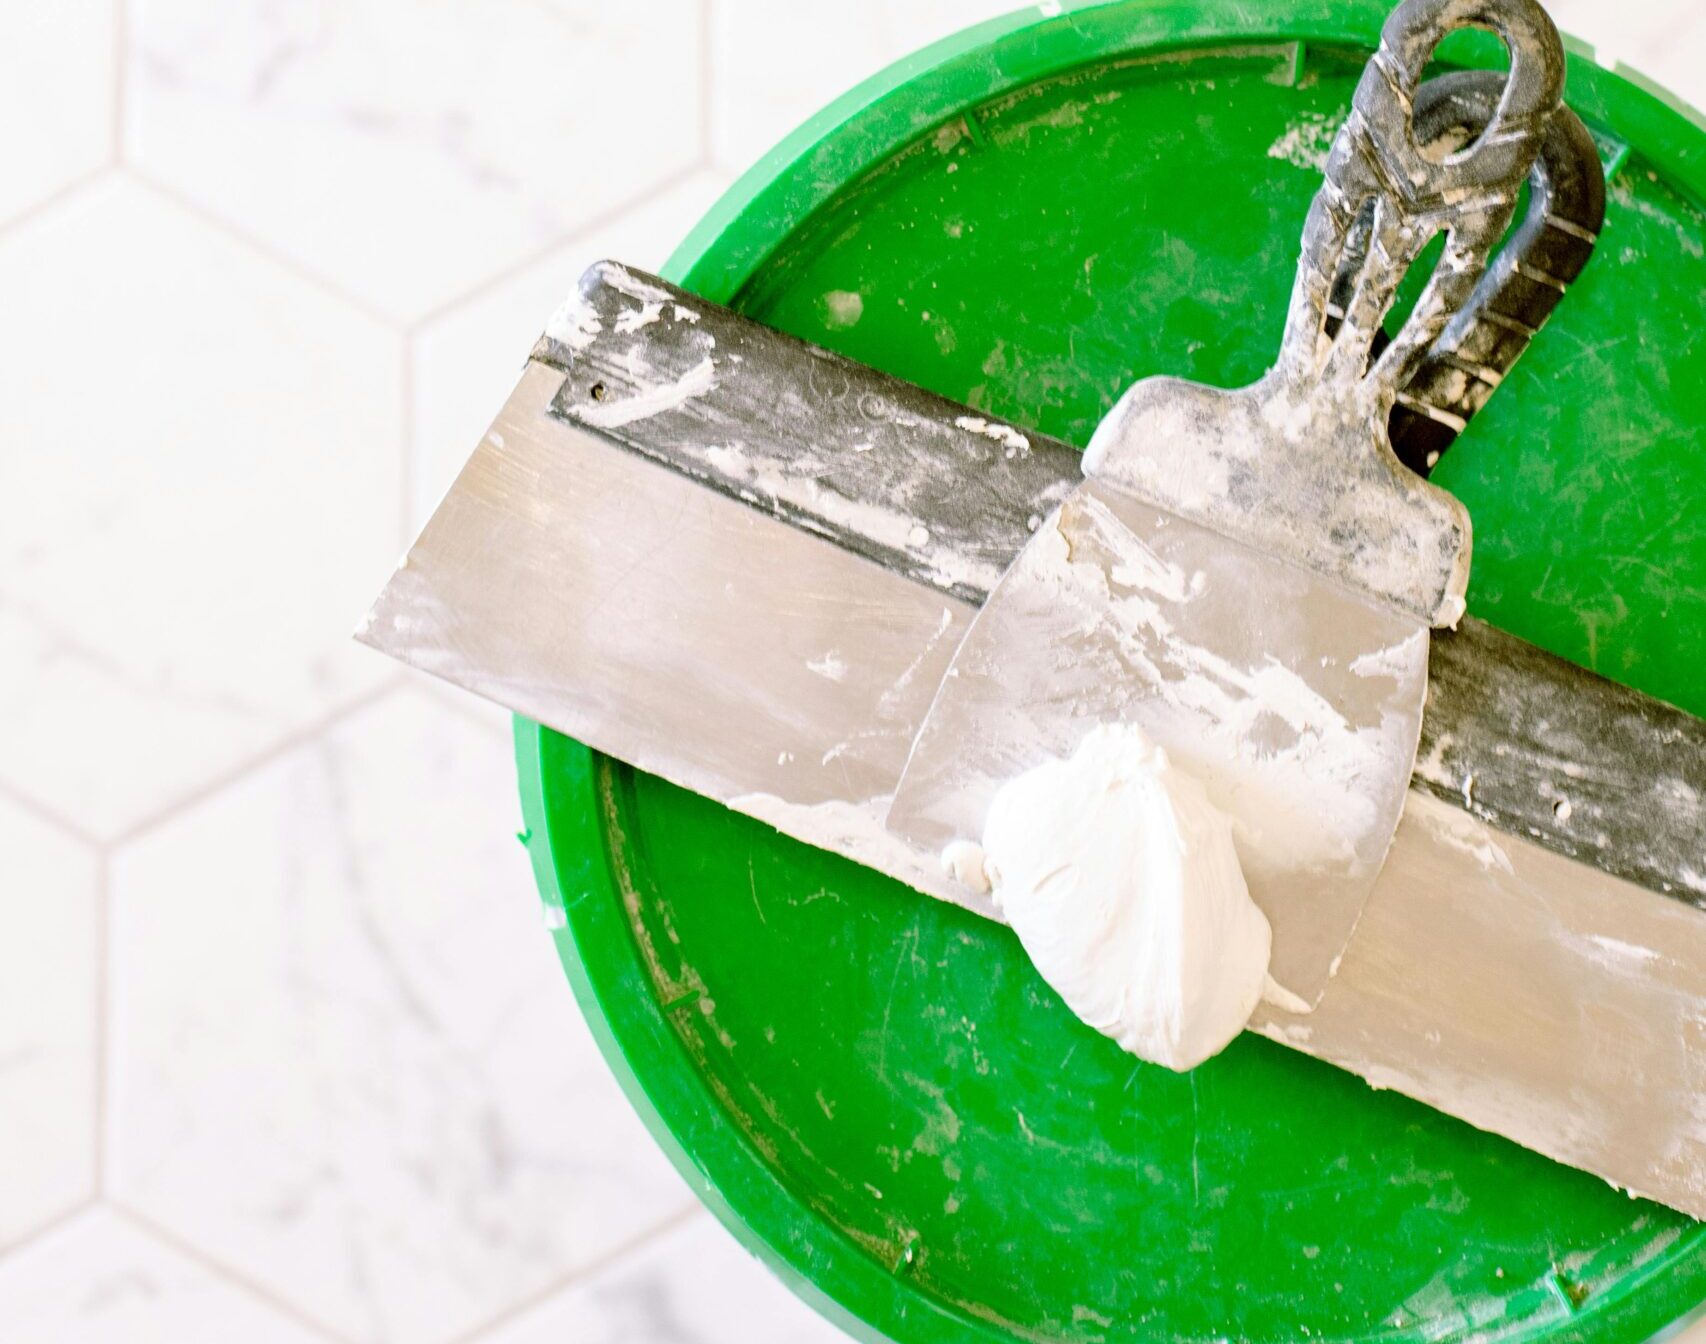
- Mixing: If using cement-based wall putty, mix it with water according to the manufacturer’s instructions to achieve a smooth paste.
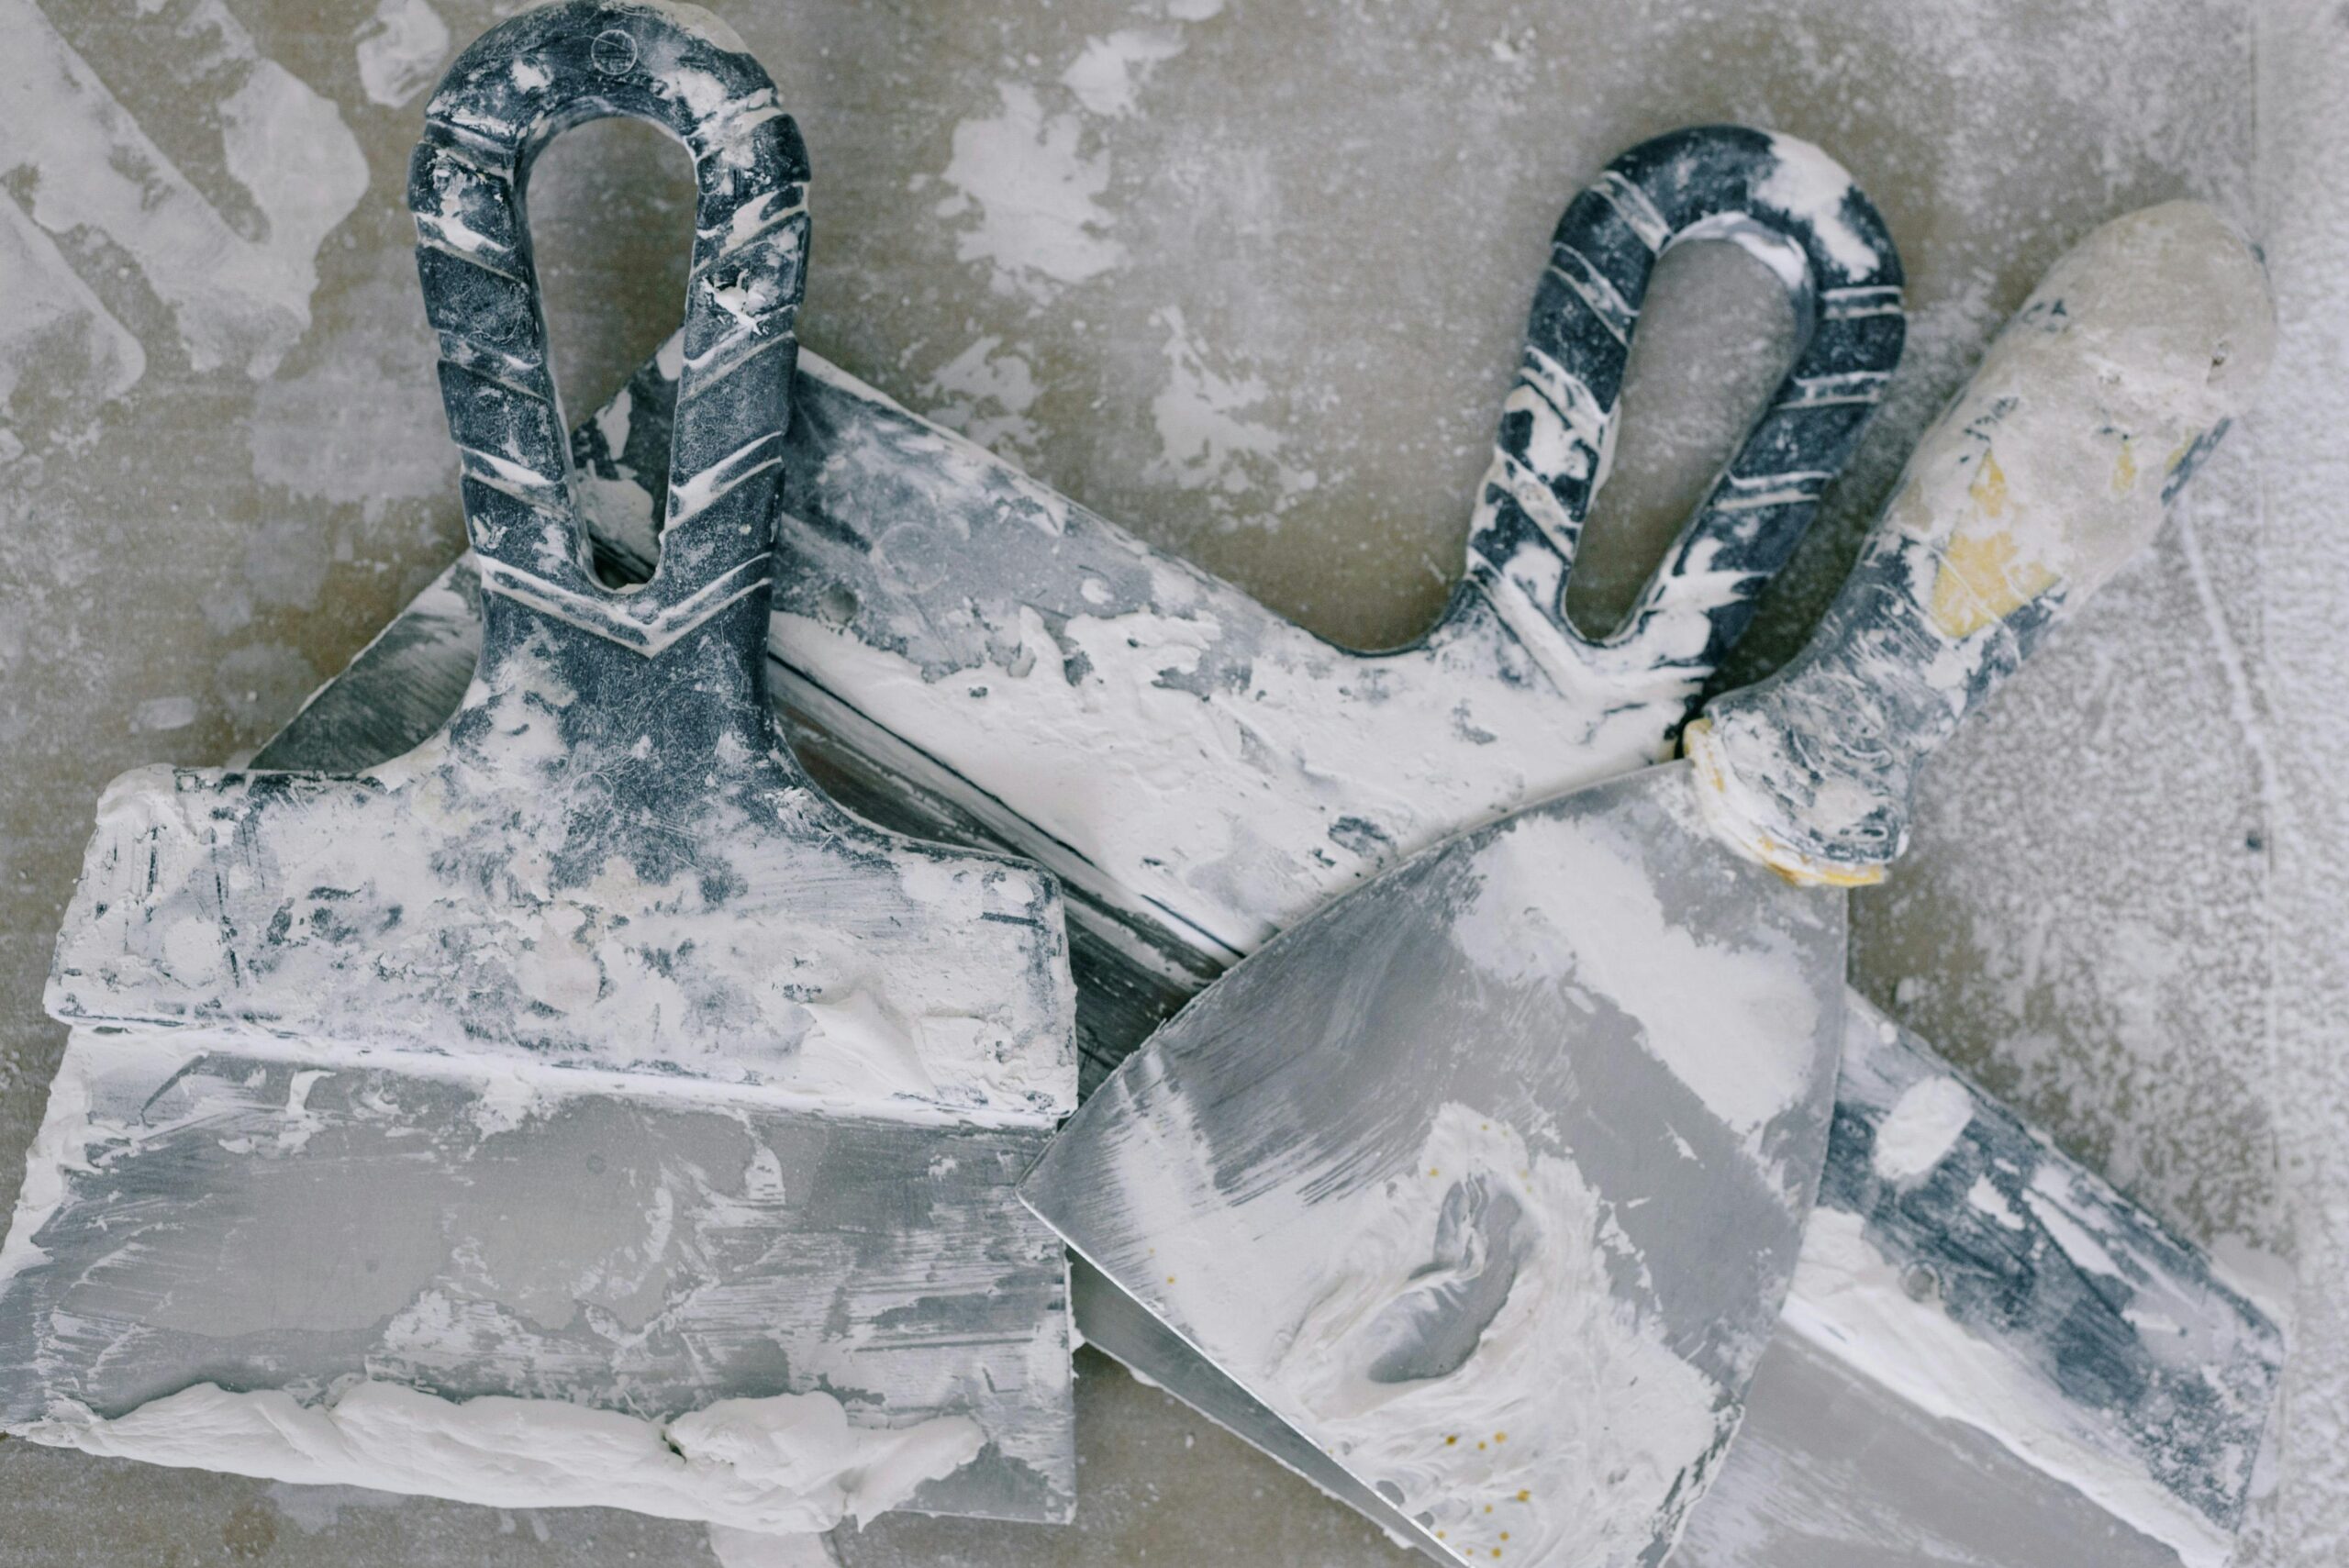
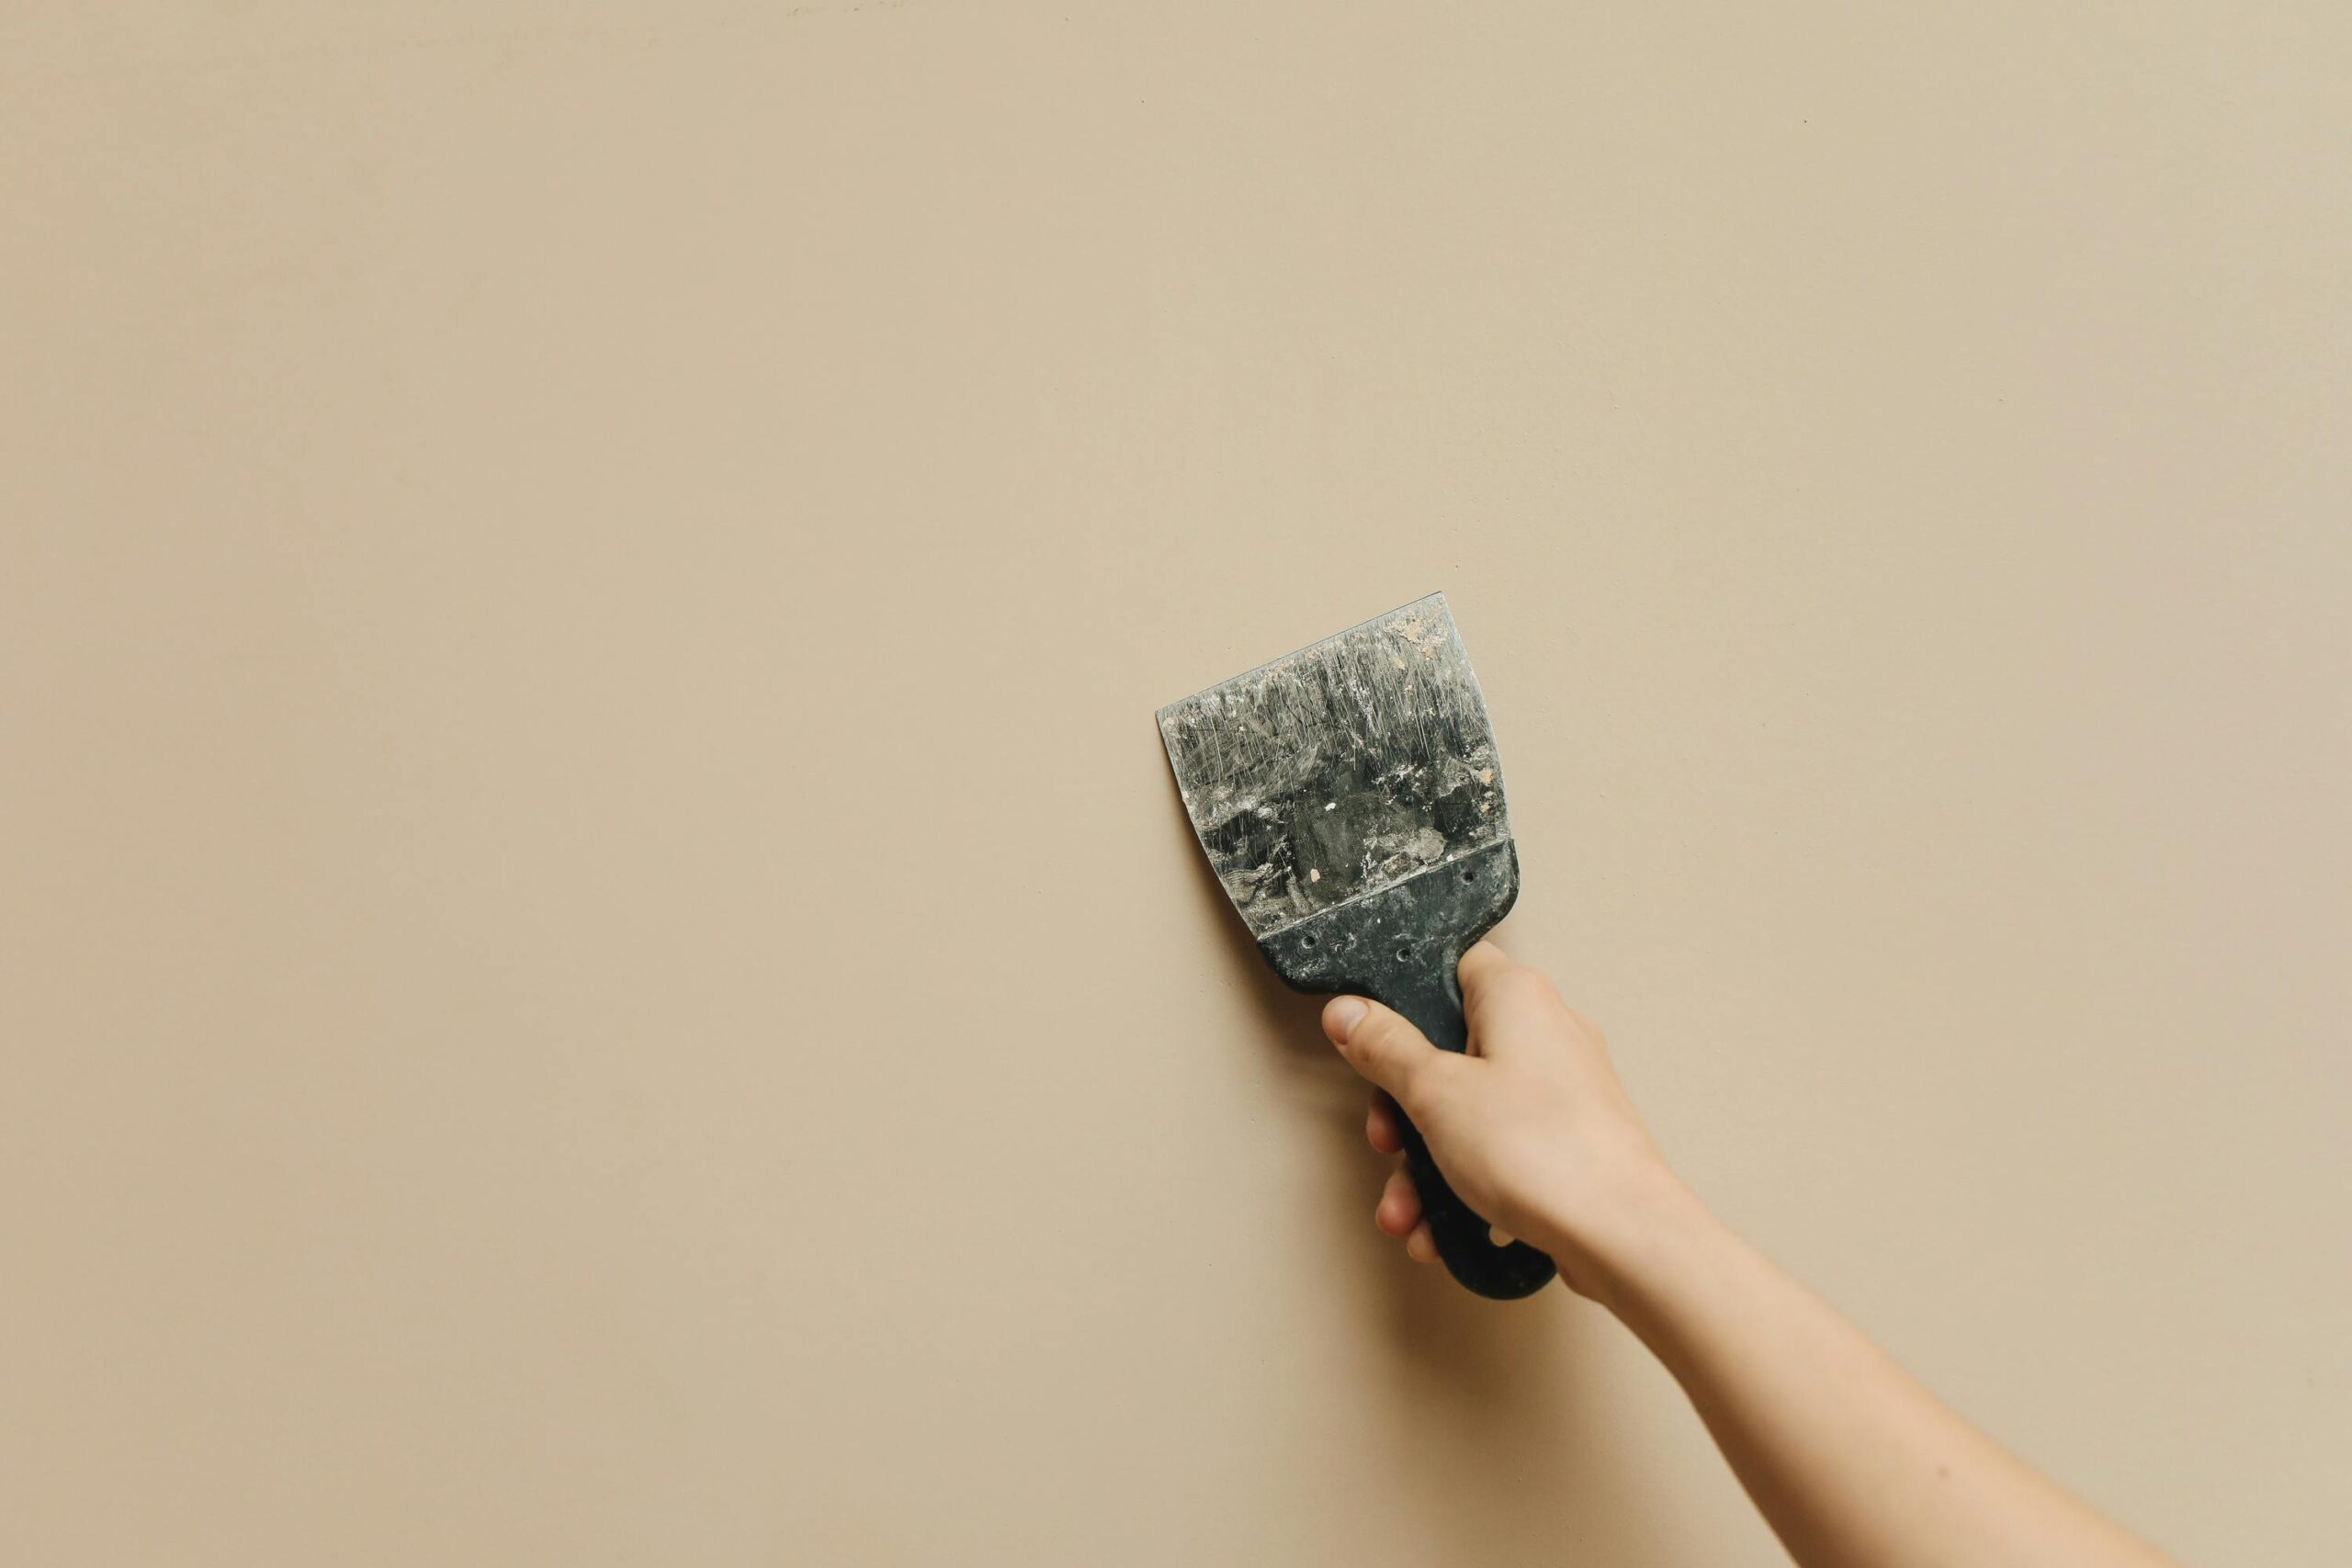
- Application: Apply the putty using a putty knife or trowel in thin, even layers. Allow each layer to dry completely before applying the next one.
- Sanding: After the putty has dried, sand the surface with fine-grit sandpaper to achieve a smooth finish.
- Primer: Apply a coat of primer before painting to enhance the adhesion and finish of the paint.
Check our service where we have listed our the work we do.
Conclusion
Choosing the right wall putty is essential for achieving a smooth, durable, and aesthetically pleasing finish on your walls. By understanding the different types of wall putty and their suitability for various surfaces, you can ensure the best results for your painting project. Whether you are dealing with newly plastered walls, old and damaged surfaces, or exterior walls, selecting the appropriate wall putty will provide a strong foundation for a flawless paint finish.