Take Safety Measures Before Starting Wall Painting
First Create Space for Ventilation
When using solvent-based paint, proper ventilation is probably the most critical factor to consider. Paint particles from solvent paints can cause dizziness, headaches, and nausea, according to the National Capital Poison Centre. Wall Painting a room with insufficient ventilation, these issues are more likely to arise. Open the project room’s doors and windows to avoid these potential dangers. This will create a cross airflow, circulating air in and out and preventing inhalation of paint fumes. Turn on the fan.
Get a PPE Kit (Personal Protective Equipment)
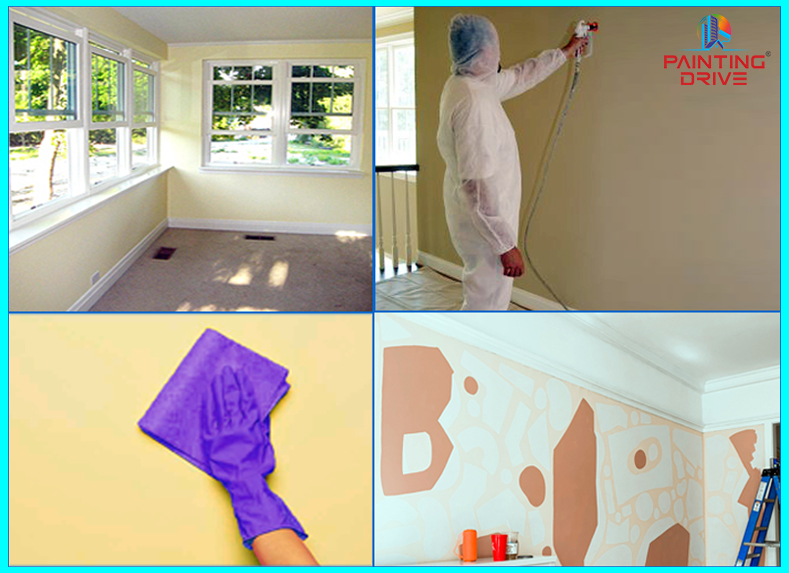
Solvent paints, cleansers, and strippers, in addition to the fumes, can irritate your skin and eyes if they are subjected to the chemicals directly. Equip personal protective equipment (PPE), such as goggles and gloves. Also, to protect your arms from splashes, try wearing a long-sleeve shirt. Consider using an old hat to keep your hair and scalp from being irritated.
Carefully start cleaning up
Clean up your place, whether you’re finished or just taking a break for the day. Because some paints are flammable, keep them in a cool, dry place. Make sure your storage location isn’t near a heat source or an open flame, as paint fumes combined with heat can create a fire. Additionally, any materials that have been exposed to paint thinner may cause a fire risk. Keep things outside until you can dispose of them appropriately. Use new cloth instead if you’re going to use more paint thinner.
After Wall Painting is completed let the paint dry for sometime
Give your room enough time to dry after you are completed. People may believe a couple of hours is adequate, but it takes a few days for the paint to cure properly. Make sure children and animals remain away from the room at that time. In addition, make sure that the space is ventilated, so that odours may escape correctly. Keep your fan on and keep windows open.
Know more: Work With the Best Painting Company in Mumbai
WALL PAINT COLOR SELECTION

Select a wall colour that complements your home’s furnishings
If you’re remodelling your house or room, you may get ideas from your current décor. You will either find an item that captures your eye and directs you, such as The Harrington Commode, a Vintage Lenox Vase, or a famous antique picture (Girl with a Pearl Earring). Alternatively, you may prefer a wall paint colour that complements your wall curtain or your brand-new sofa set. Selecting a colour to match your décor is considerably easier (and less expensive!)
Choosing Your Favorite Colour vs. Your Mood
Why? Because colours may influence our moods and personalities. Have you ever wondered why the majority of Indian households have White & Blue features in their bathrooms? This is because blue is a peaceful and calming colour. This makes it a wonderful choice for your bedroom paint colour as well if that’s the mood you’re going for. If you want an outstanding global wall painting concept for your living room, you may use Maroon because it generates deep feelings and enhances the energy levels in a space. Or do you want your dining area or kitchen to exude a cheerful atmosphere? Then there’s the light and airy green!
Embrace the Rainbow and Pick a Colour Scheme
- Complementary Colours
On the colour wheel, complementary colours are opposite one another. Each hue enhances the richness of the other. When combining complementary hues, one colour should be more subdued while the other should be more prominent.
- Split Complementary Colours
Split complementary hues provide an eye-catching colour pallet. Choose a primary colour. Then, identify its complementary colour and choose colours from both sides of the complementary colon.
- Monochromatic Colours
Monochromatic colours have the same hue but differ in intones, values, and saturation. Consider a paint swatch card: It has several shades of the same hue. The use of two or more monochromatic hues, such as a black wall with white accents, produces a contemporary and modern effect.
Read more: 5 Peaceful Wall Painting Colors for Calming Mind | Positive Colors
HOW TO DO Wall Painting IN STEP-BY-STEP INSTRUCTIONS
Step 1: Walls should be clean.
Using a big cellulose sponge and a water-and-a-few-drops-of-mild-dishwashing-liquid solution Clean your walls using a large cellulose sponge and a solution of water combined with a few drops of mild dishwashing solutions to remove any dust, dirt, or grease if you have washable house paint. If not, wipe the walls with a damp sponge.
Step 2: Apply Tape On Necessary Places
Protect any surfaces you don’t want your paint to touch, such as trim, mounding, doorknobs, window frames, and door frames, wall corners with blue painter’s tape (not adhesive tape): Just inside the outer boundaries of these spaces, run large strips of tape.
Step 3: Prepare Primer In Tray
Add enough into the well toward the bottom of the tray to almost filling it without covering the angled area of the tray where the ridges are.
Apply the primer to the wall with a roller
Tie your roller in the primer and run it back and forth over the tray scraps several times to remove any more primers and avoid drips. Make sure the roller coated uniformly. Roll up and down the priming roller until the wall is fully coated. Continue to paint the whole wall and apply the roller first as necessary.
Paint Around Trim Area
 Dip a two-inch angled brush into the paint and coat the bristles about a third of the way down. Brush the tape that is covering the trim along the outer border (on the wall side of the tape; not the trim side). Continue to paint flush against the taped trim, moving outward about two or three inches from the tape. Continue painting a tight swath all the way around the taped sections until you’ve completed.
Apply Paint Strokes In “w” Shape
Fill the paint tray and dip the roller halfway. Roll the paint on the wall and give a “w” shape stroke. Complete the unoccupied spaces as you cross the “W,” without lifting the roller.
Remove the painter’s tape
Once the painting is over, remove your tape in a wet paint only as you might confront the removal of your paint after the painting becomes dry.
Read More Blogs on Painting & Polishing Ideas.


